WEEK 5 & 6 Fusion360 + Studio Activity

1) Fusion360 3D Model

2) 3D Model components laid out ready to be imported into Illustrator to prep for laser cutting

3) Components laid out within a 400x120mm rectangle with correct colour coding ready to be sent for laser cutting.
Studio Activity (Model Making)
My workspace
- Paper is very thin and would not hold at a larger scale which is why I had to stick to a 1:100.
- Very easy to warp and crease which made it difficult to make fine folds.
- No tabs were used, noted for next time tabs would definitely help with the overall look and stability of the model.
- Folds and walls held much better than my first attempt which is why I upgraded to a scale of 1:50.
- I found cardboard a little easier to cut and score with a blade.
- No tabs used.
- I used the same material as the 2nd attempt.
- With this attempt, I made tabs which helped the model's stability and shape.
My ideal workspace
2mm Cardboard 1hr 1:50
- after my findings with my previous models, I decided to go with thicker cardboard which was easier to glue without tabs and is harder to accidentally crease which in the end made my final model more durable and customizable than all the others.
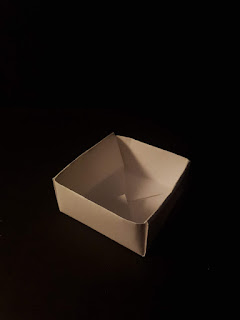
Folding exercise


Comments
Post a Comment